8. 폼요소
`form`/`input`/`textarea`/`select`/`label` 폼 기본부터 모바일을 위한 `inputmode`·`enterkeyhint`·`datalist`·`autocomplete` 까지.
1. 폼요소
Info: 👁️🗨️ 🔗**정보를 제출하기 위한 대화형 문서영역**
| 태그 | 설명 | 속성(특성) |
|---|---|---|
| form | 입력양식 태그 | action: data 를 전송할 서버주소 |
| method: data 전송방법(get, post) | ||
| fieldset | form 요소를 그룹핑 | |
| legend | fieldset의 제목 |
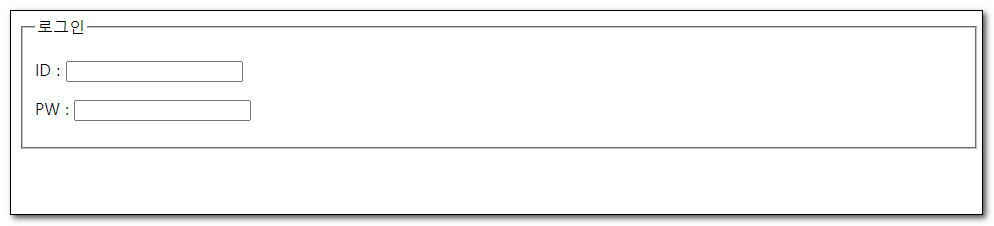
ex1-24.html
<!DOCTYPE html>
<html lang="ko">
<head>
    <meta charset="UTF-8">
    <title>폼</title>
</head>
<body>
    <form action="#" method="post">
        <fieldset>
            <legend>로그인</legend>
            <p>ID : <input type="text"></p>
            <p>PW : <input type="password"></p>
        </fieldset>
    </form>
</body>
</html>
2. input , type
Info: 👁️🗨️ 🔗입력요소
Info: 👉 value="데이터값" name="백단용 데이터 식별자" id="디자인용 식별자" → 유일값
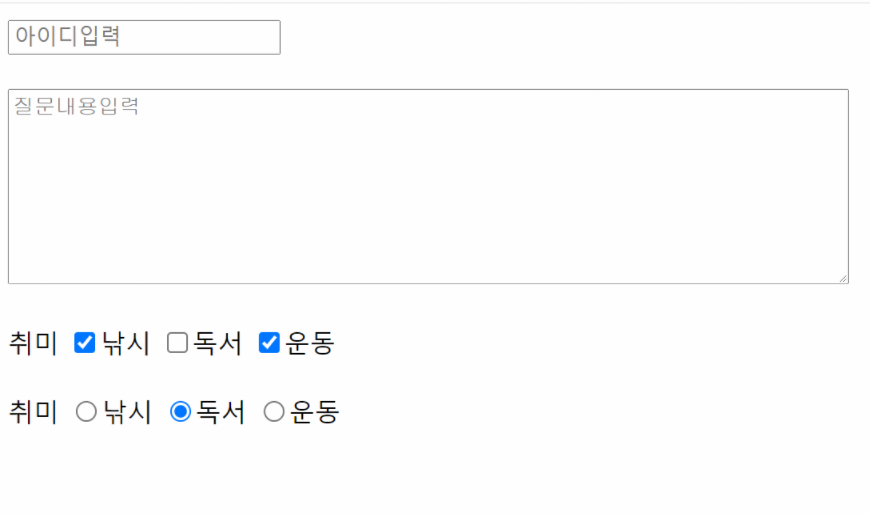
Info: 💡 type=”radio” ⇒ 여러개 중에 하나 (택일)
type=”chackbox” ⇒ 복수선택
type 별 카탈로그
type 값 | 의미 / 동작 |
|---|---|
text | 일반 텍스트 (기본값) |
password | 입력값을 ● 로 숨김 |
email | 이메일 형식 검증 + 모바일에서 @ 키보드 |
tel | 전화 번호 — 모바일에서 숫자 키패드 |
search | 검색용 — 입력하면 X 지우기 버튼이 뜸 |
url | URL 형식 검증 |
number | 숫자만, 위·아래 화살표로 증감 |
range | 슬라이더 막대 (볼륨·밝기처럼) |
color | 색상 선택 팔레트 |
date | 날짜 선택 (휴대폰은 휠로 자동 표시) |
time | 시·분 선택 |
datetime-local | 날짜 + 시간 |
month / week | 월 / 주 선택 (브라우저마다 모양이 달라 잘 안 씀) |
radio | 여러 개 중 하나 선택 |
checkbox | 여러 개 동시 선택 |
file | 파일 첨부 (multiple 로 여러 개 가능) |
hidden | 화면에 안 보이는 값을 폼과 함께 보낼 때 |
submit | 폼 제출 버튼 |
reset | 입력 모두 지우기 (UX 가 안 좋아 잘 안 씀) |
button | 일반 버튼 (옛 방식 — 요즘은 <button> 권장) |
image | 이미지 버튼 (잘 안 씀 — 보통 <button> 안에 이미지) |
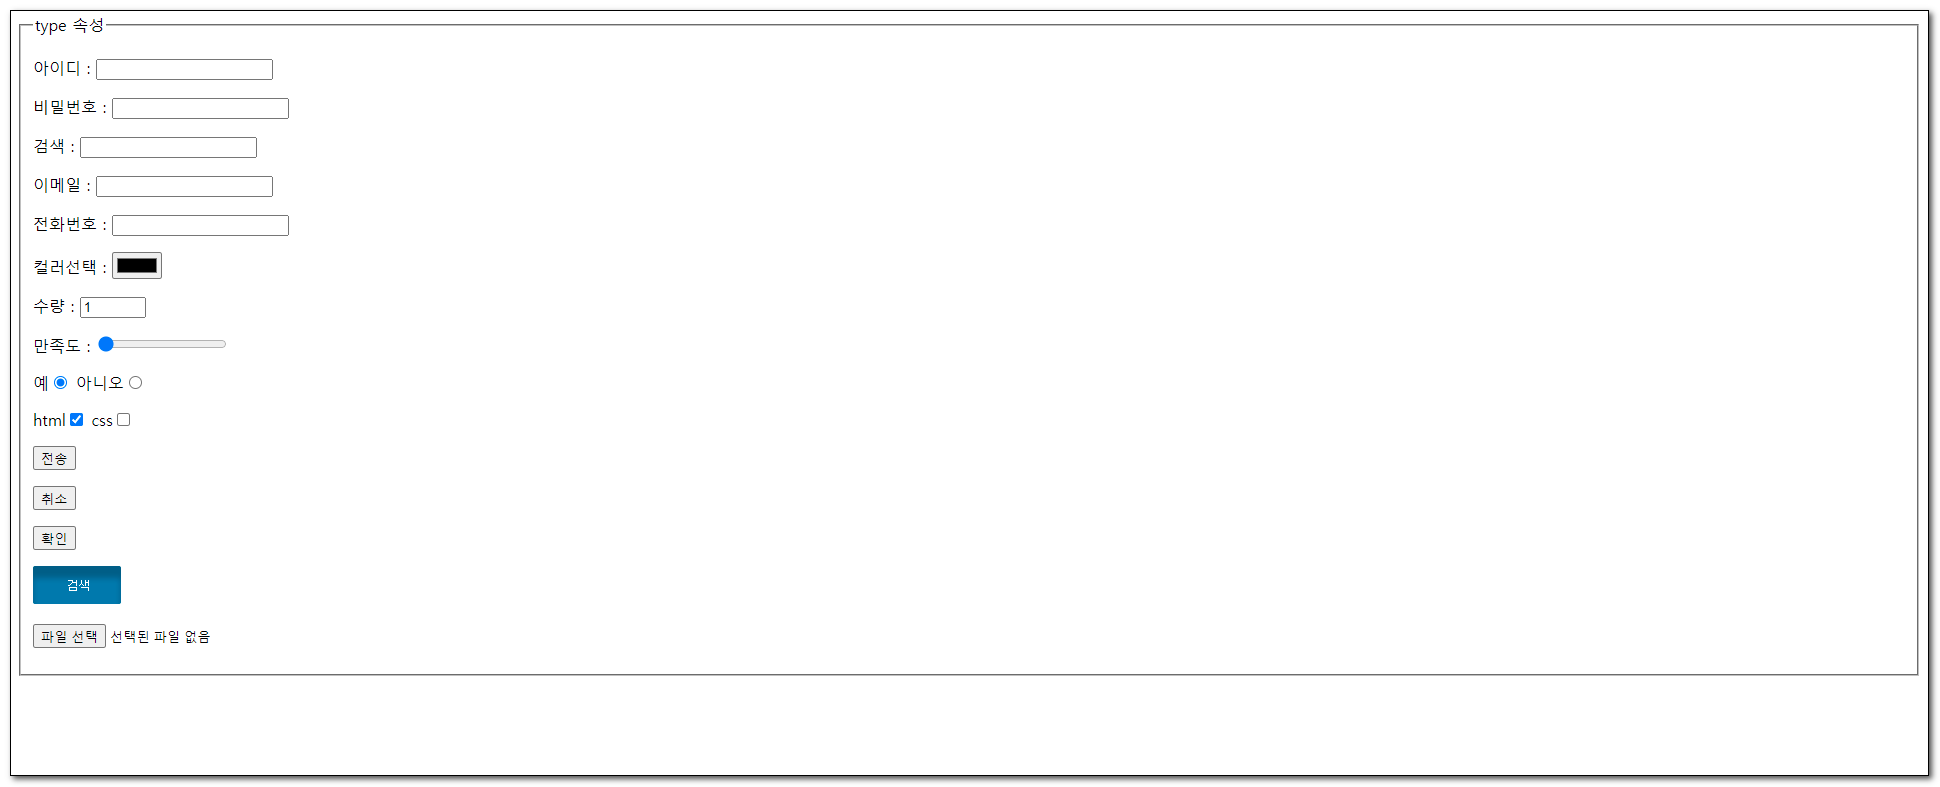
ex1-25.html
<!DOCTYPE html>
<html lang="ko">
<head>
    <meta charset="UTF-8">
    <title>폼</title>
</head>
<body>
    <form action="#" method="post">
        <fieldset>
            <legend>type 속성</legend>
            <p>아이디 : <input type="text"></p>
            <p>비밀번호 : <input type="password"></p>
            <p>검색 : <input type="search"></p>
            <p>이메일 : <input type="email"></p>
            <p>전화번호 : <input type="tel"></p>
            <p>컬러선택 : <input type="color"></p>
            <p>수량 : <input type="number" min="1" max="10" value="1"></p>
            <p>만족도 : <input type="range" min="1" max="10" value="1"></p>
            <p>예<input type="radio" name="receive" checked="checked"> 아니오
									<input type="radio" name="receive"></p>
            <p>html<input type="checkbox" checked="checked"> css<input type="checkbox"></p>
            <p><input type="submit" value="전송"></p>
            <p><input type="reset" value="취소"></p>
            <p><input type="button" value="확인"></p>
            <p><input type="image"  src="images/bt.png" alt="전송"></p>
            <p><input type="file"></p>
        </fieldset>
    </form>
</body>
</html>
3. textarea,select
Info: 👁️🗨️ textarea: 여러줄 텍스트 입력상자

1-26.html
<!DOCTYPE html>
<html lang="ko">
<head>
    <meta charset="UTF-8">
    <title>폼</title>
</head>
<body>
    <form action="#" method="post">
        <fieldset>
            <legend>회원가입</legend>
            <p>가입목적 :<br><textarea rows="5" cols="100"></textarea></p>
            <p>전화번호 :
							<select name="tel">
	                <option>----지역번호를 선택하세요----</option>
	                <option value="seoul" selected="selected">02</option>
	                <option value="gyeonggi">030</option>
	                <option value="sejong">044</option>
	            </select>
              <input type="text">
            </p>
        </fieldset>
    </form>
</body>
</html>
4. label
Info: 👁️🗨️ 사용자 인터페이스항목의 설명
-
인풋요소 의 범위지정
-
범위지정방법
-
태그를 감싸기
-
for , id 로 연결시키기
-
-
-
접근성기술
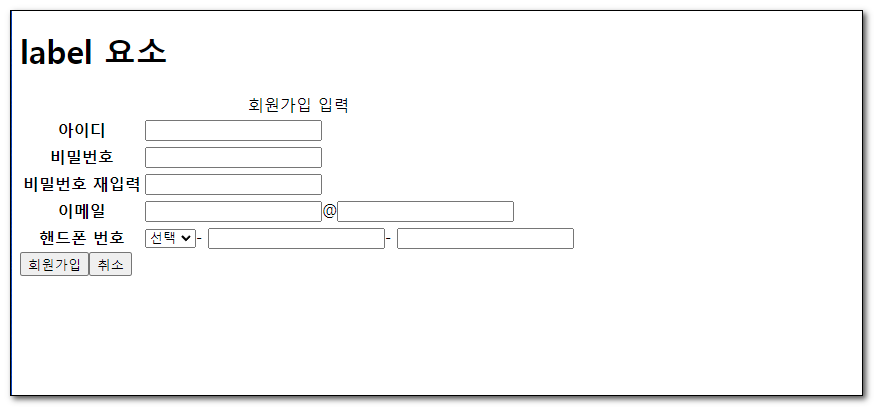
ex1-27.html
<!DOCTYPE html>
<html lang="ko">
<head>
<meta charset="UTF-8">
<title>폼</title>
</head>
<body>
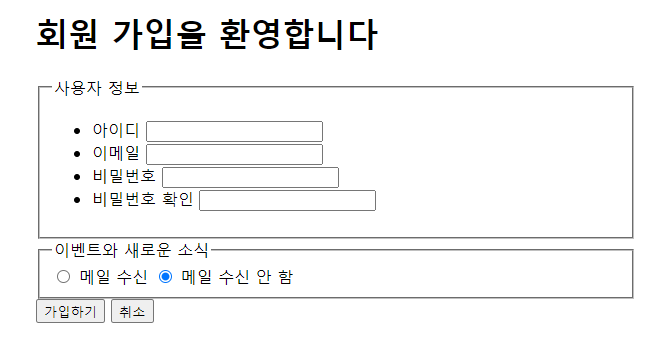
<h1>label 요소</h1>
<form action="#" method="post">
<table>
<caption>회원가입 입력</caption>
<colgroup>
<col>
<col>
</colgroup>
<tbody>
<tr>
<th scope="row"><label for="id">아이디</label></th>
<td><input type="text" id="id" title="아이디 입력"></td>
</tr>
<tr>
<th scope="row"><label for="pw">비밀번호</label></th>
<td><input type="password" id="pw" title="비밀번호 입력"></td>
</tr>
<tr>
<th scope="row"><label for="r_pw">비밀번호 재입력</label></th>
<td><input type="password" id="r_pw" title="비밀번호 재입력"></td>
</tr>
<tr>
<th scope="row"><label for="email">이메일</label></th>
<td><input type="text" id="email" title="이메일아이디 입력">@<input type="text" title="이메일주소 입력"></td>
</tr>
<tr>
<th scope="row"><label for="hp">핸드폰 번호</label></th>
<td>
<select id="hp" title="휴대폰 앞자리 선택">
<option>선택</option>
<option>010</option>
<option>011</option>
</select>-
<input type="text" title="휴대폰 번호 중간 4자리 입력">-
<input type="text" title="휴대폰 번호 끝 4자리 입력">
</td>
</tr>
</tbody>
</table>
<div><input type="submit" value="회원가입"><input type="reset" value="취소"></div>
</form>
</body>
</html>
5. 폼정리
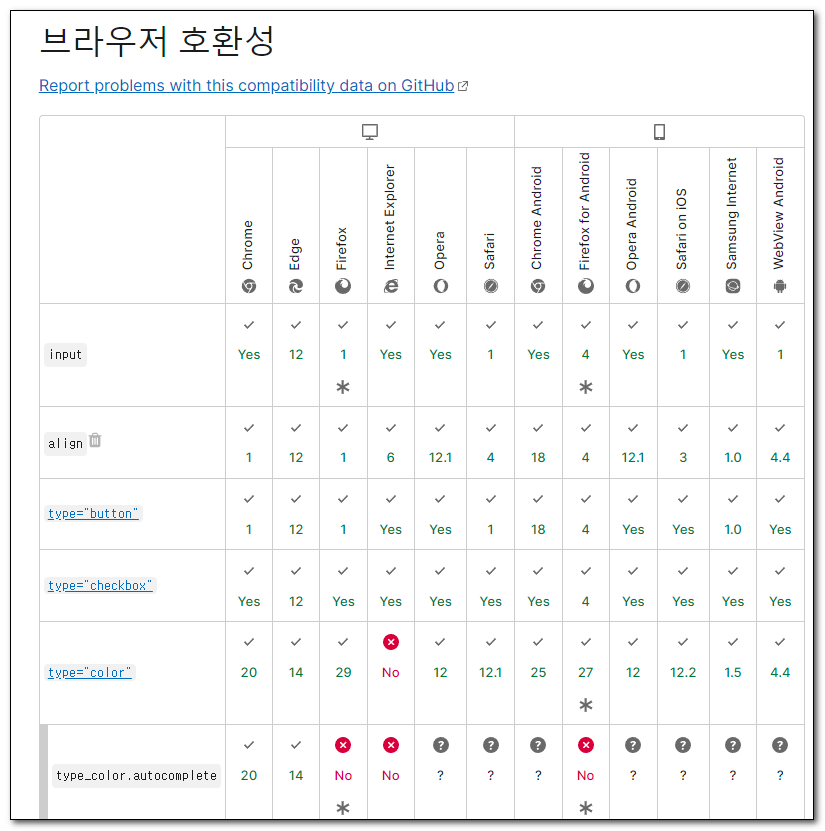
Info: 👁️🗨️ 🔗MDN 링크
**브라우저 호환성 확인**
개발 해야하는 브라우저의 버전을 확인후 호환되는 태그로 마크업해야 한다.
| 속성 | 동작 | 비고 |
|---|---|---|
placeholder | 빈 칸에 흐릿한 안내 글 표시 | 라벨 대신 쓰지 말기 |
required | 비어 있으면 폼 제출 안 됨 | |
readonly | 값 변경 불가, 폼 전송은 됨 | |
disabled | 값 변경 불가, 폼 전송도 안 됨 | 회색 처리 |
autofocus | 페이지가 열리면 커서가 자동으로 들어감 | 한 페이지에 하나만 |
autocomplete | 브라우저 저장값 자동 채움 | on / off (자세히 → 15장) |
pattern | 정규식 으로 입력값 검증 | |
multiple | file · email 에서 여러 값 입력 |
Info: 📌 버튼 —
<input>vs<button><input type="button">은 글자만 들어가지만,<button>안에는 글자·이미지·아이콘을 자유롭게 넣을 수 있어 요즘은<button>을 쓴다폼 안에
<button>을 둘 땐type="button"을 꼭 적자 — 안 적으면 누를 때마다 폼이 제출되어 새로고침 된다. "취소" · "보기 전환" 같은 일반 버튼은 반드시type="button".
<button type="button">취소</button>
<button type="submit">전송</button>
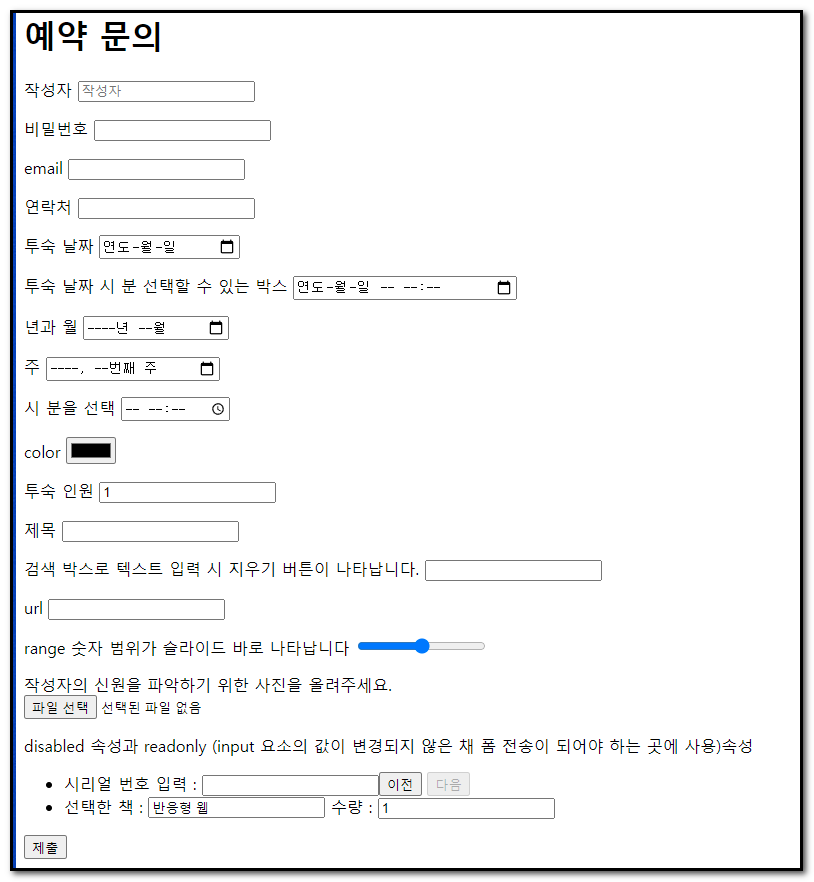
ex1-29.html
교재 ex1-28~ex1-33 예제 통합
<!DOCTYPE html>
<html>
	<head>
		<title>예약 문의</title>
		<meta charset="UTF-8" />
	</head>

	<body>
		<h1>예약 문의</h1>

		<form action="#" method="post">
			<p>
				작성자
				<input name="userName" type="text" placeholder="작성자를입력하세요" required="required" autofocus="autofocus" />

			</p>
			<p>
				비밀번호
				<input name="userPWD" type="password" />
			</p>
			<p>
				회원번호 (6자리-7자리)
				<input name="userMemberNo" type="text" pattern="\d{6}-\d{7}" />
			</p>
			<p>
				email
				<input name="userEmail" type="email" autocomplete="on" />
			</p>
			<p>
				연락처
				<input name="userPhone" type="tel" autocomplete="off" />

			</p>
			<p>
				투숙 날짜
				<input name="userDate" type="date" />
			</p>
			<p>
				투숙 날짜 시 분 선택할 수 있는 박스
				<input name="userDate" type="datetime-local" />
			</p>
			<p>
				년과 월
				<input name="userDate" type="month" />
			</p>
			<p>
				주
				<input name="userDate" type="week" />
			</p>
			<p>
				시 분을 선택
				<input name="userDate" type="time" />
			</p>
			<p>
				color
				<input name="userDate" type="color" />
			</p>
			<p>
				투숙 인원
				<input name="userNumber" type="number" value="1" />
			</p>
			<p>
				제목
				<input name="userTitle" type="text" />
			</p>
			<p>
				검색 박스로 텍스트 입력 시 지우기 버튼이 나타납니다.
				<input name="userSearch" type="search" />
			</p>
			<p>
				url
				<input name="userTitle" type="url" />
			</p>
			<p>
				range 숫자 범위가 슬라이드 바로 나타납니다
				<input name="userTitle" type="range" />
			</p>
			<p>
				작성자의 신원을 파악하기 위한 사진을 올려주세요.<br />
				<input name="userFile" type="file" multiple="multiple"/>
				<input name="userFile1" type="file"/>
			</p>
			<p>disabled 속성과 readonly (input 요소의 값이 변경되지 않은 채 폼 전송이 되어야 하는 곳에 사용)속성</p>
			<ul>
				<li>
					<label for="serialNum">시리얼 번호 입력 :</label> <input type="text" id="serialNum" /><input type="button" value="이전" /> <input type="button" value="다음" disabled="disabled" />

				</li>
				<li><label for="book">선택한 책 : </label> <input type="text" id="book" value="반응형 웹" readonly="readonly" /> <label for="number">수량 : </label><input type="number" id="number" value="1" /></li>

			</ul>
			<input type="submit" />
		</form>
		<p>autocomplete - 자동완성 기능에 대한 사용 여부를 판단해줍니다.</p>
	</body>
</html>
6. 과제
사용이미지


1. 문제1
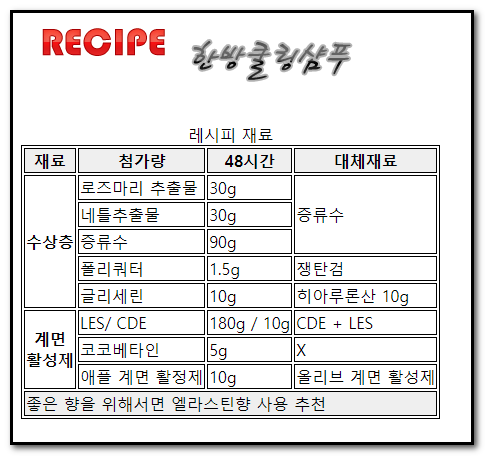
텍스트
한방 샴푸 레시피
레시피 재료
재료	첨가량	48시간	대체재료
수상층	로즈마리 추출물	30g	증류수
네틀추출물	30g
증류수	90g
폴리쿼터	1.5g	쟁탄검
글리세린	10g	히아루론산 10g6
계면
활성제	LES/ CDE	180g / 10g	CDE + LES
코코베타인	5g	X
애플 계면 활정제	10g	올리브 계면 활성제
좋은 향을 위해서면 엘라스틴향 사용 추천
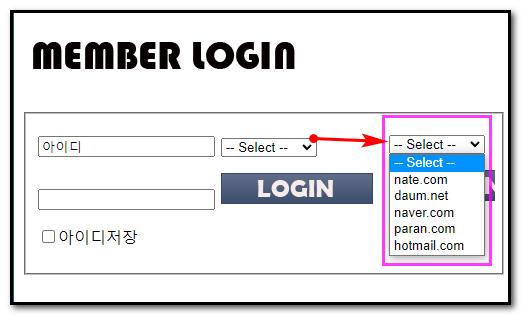
2. 문제2
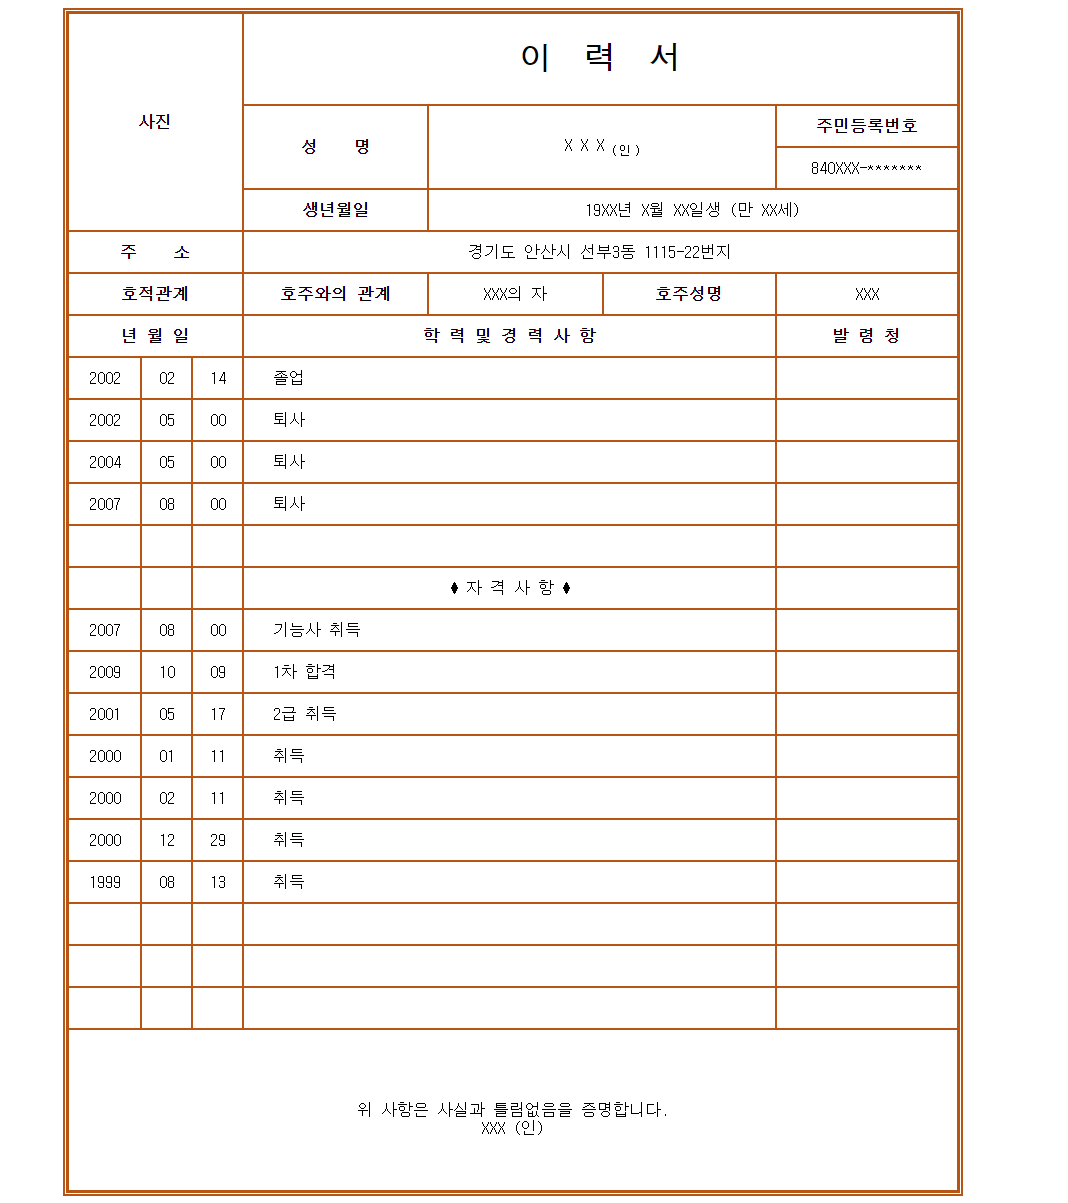
3. 문제3 테이블로 이력서 만들어오기
<style>
    table,
    th,
    td {
      border: 1px solid;
    }
  </style>
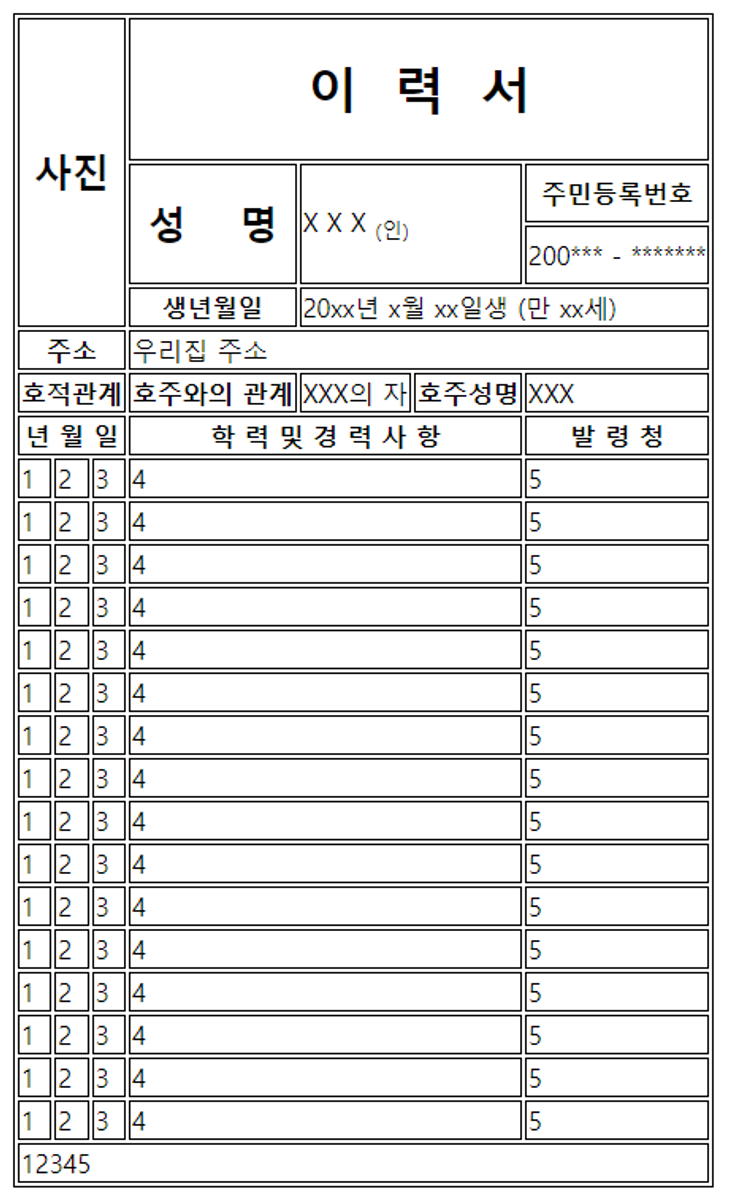
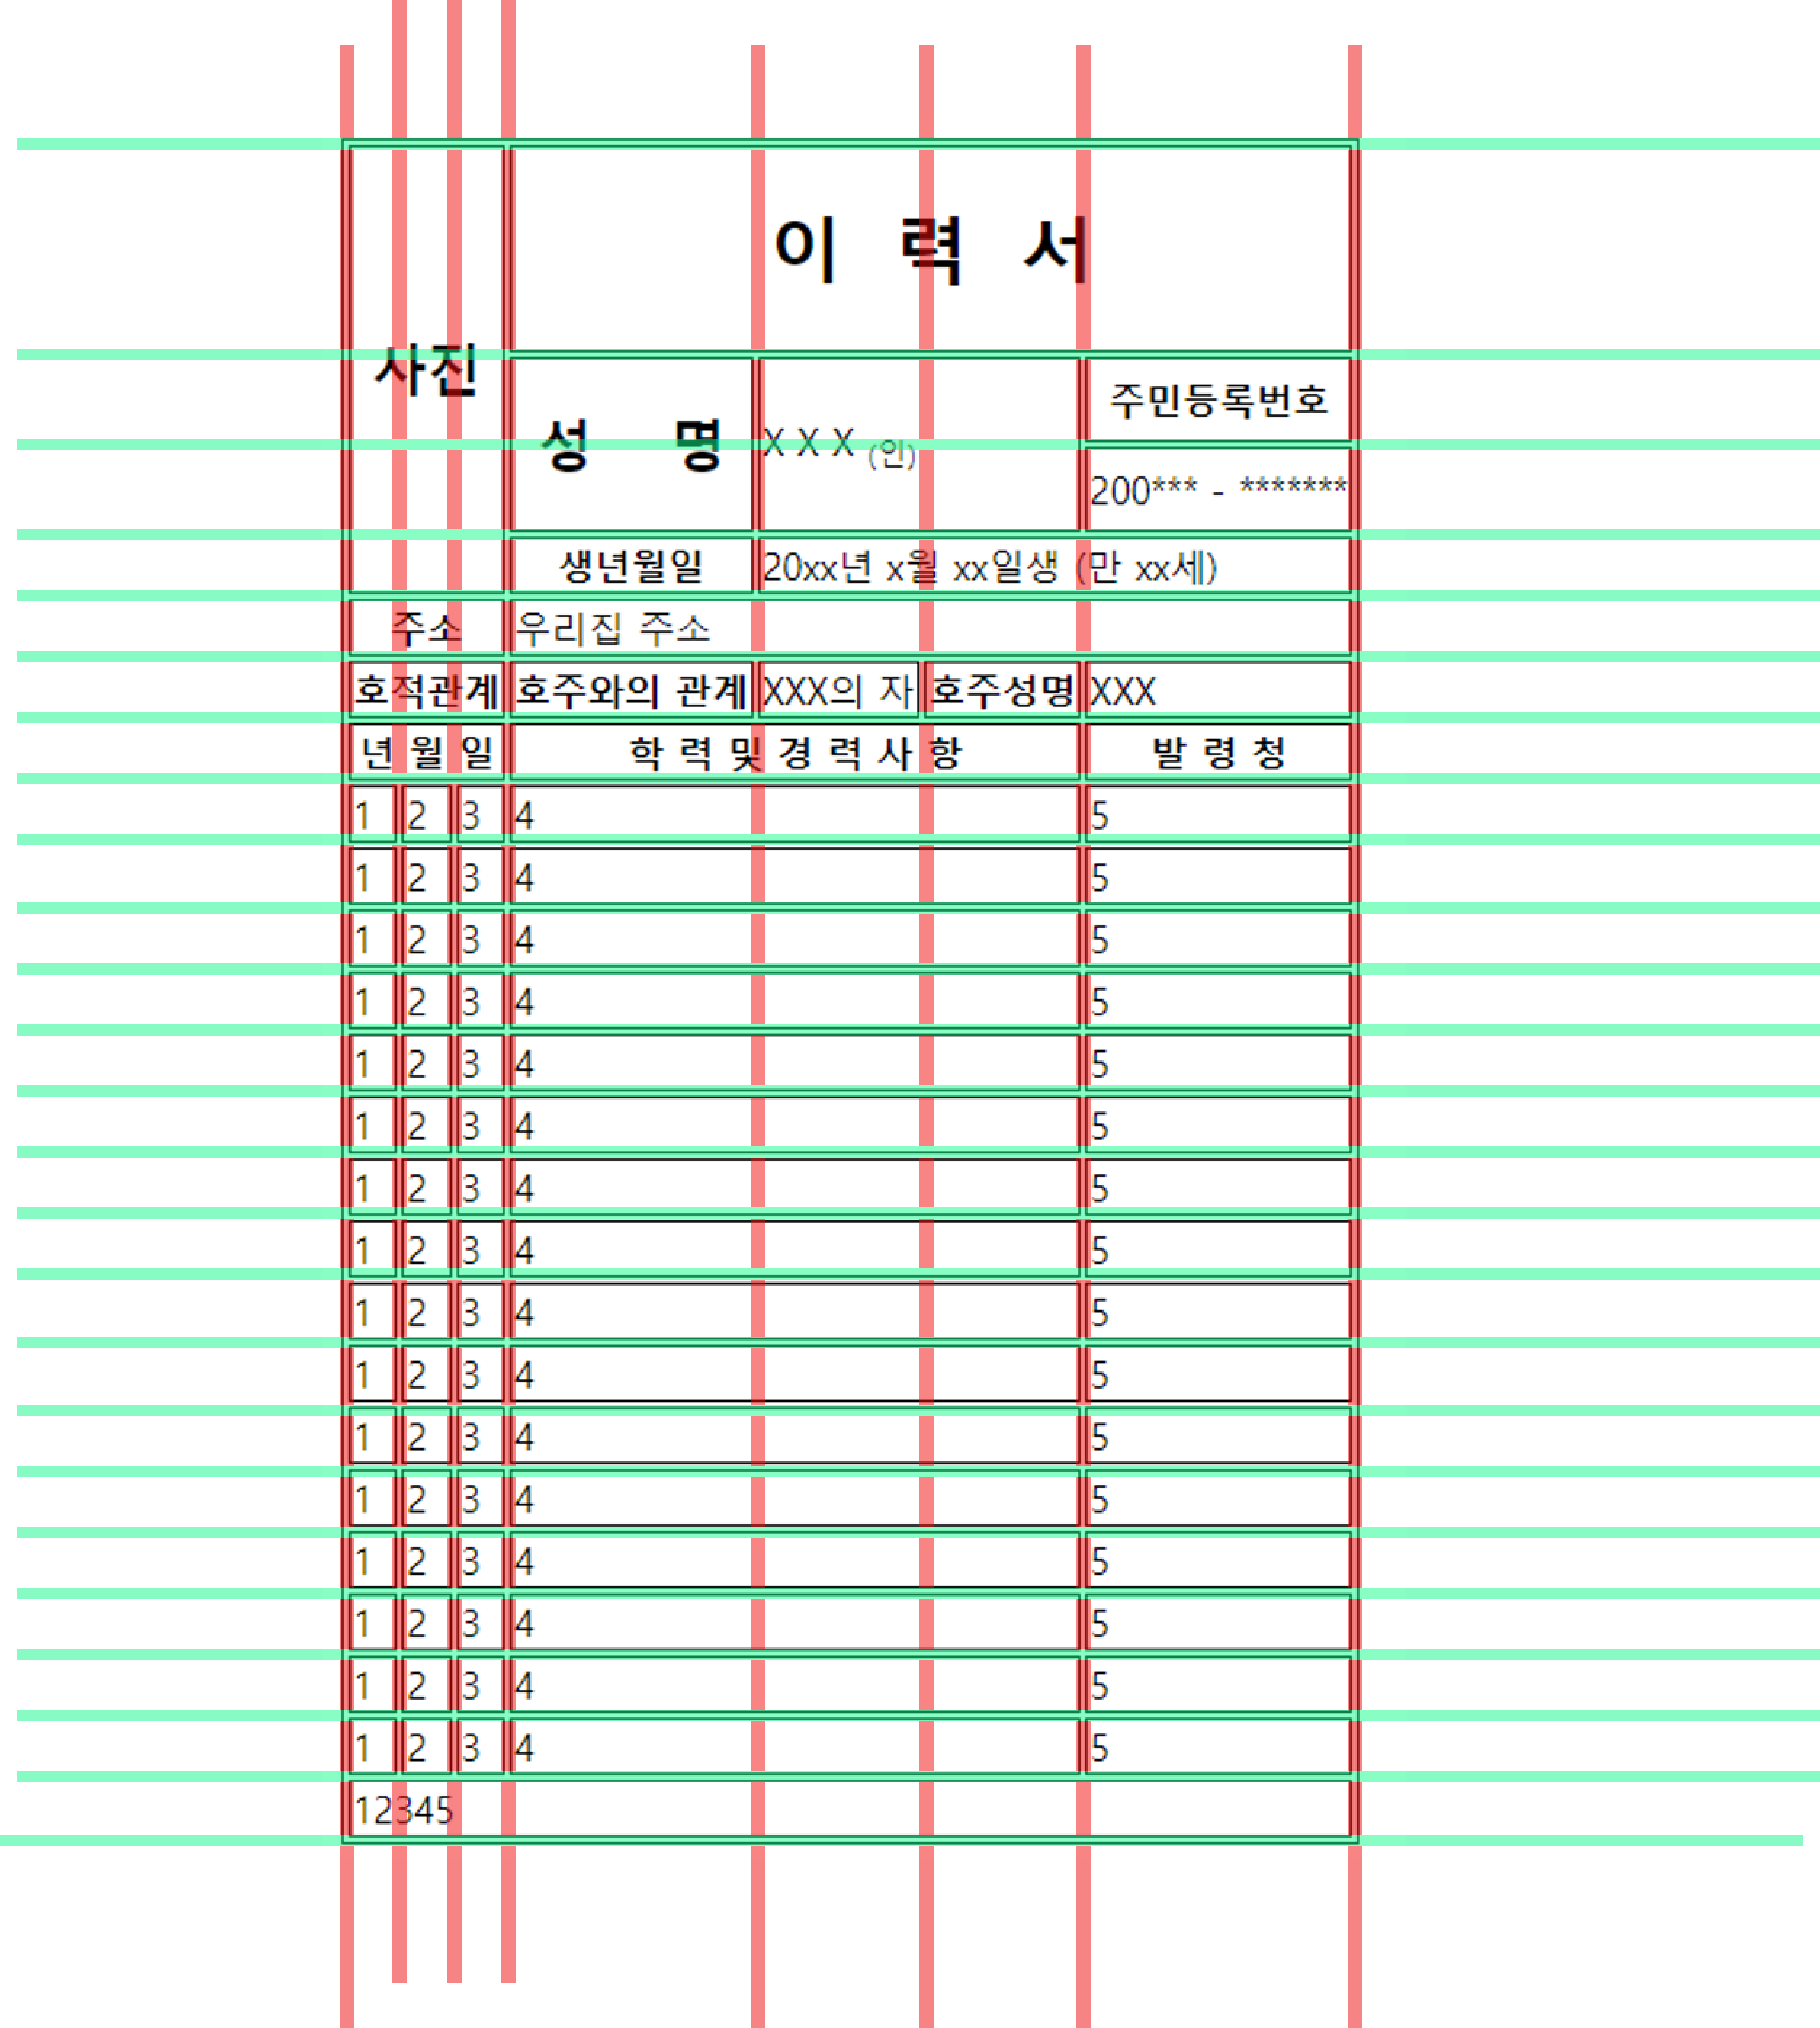
이거하지마
4. 추가문제 1
5. 추가문제 2
▪ 2026 보완: 모바일 폼과 자동완성
7. inputmode — 모바일 가상 키보드 종류
Info: 👁️🗨️ 모바일에서 input 포커스 시 어떤 키보드 를 띄울지 지정한다.
type과 별개로 키보드만 바꾸고 싶을 때 사용.
<input type="text" inputmode="numeric" pattern="\d*"  placeholder="우편번호">
<input type="text" inputmode="decimal" placeholder="금액 (소수점 가능)">
<input type="search" inputmode="search">
| 값 | 키보드 |
|---|---|
none | 키보드 안 띄움 (자체 UI 사용) |
text | 일반 텍스트 (기본) |
numeric | 숫자만 (0~9) |
decimal | 숫자 + 소수점 |
tel | 전화 키패드 (#·* 포함) |
email | @ · . 강조 |
url | / · .com 강조 |
search | 엔터 라벨 검색 |
Info: 💡
type="number"는 숫자 검증 까지 —inputmode="numeric"은 키보드만 바꾼다. 우편번호처럼 숫자지만 0 으로 시작 하는 경우type="text" inputmode="numeric"조합을 쓴다.
8. enterkeyhint — 엔터키 라벨
Info: 👁️🗨️ 모바일 가상 키보드 엔터키 의 라벨을 바꾼다.
<input type="search" enterkeyhint="search">
<input type="text" enterkeyhint="next">
<textarea enterkeyhint="send"></textarea>
| 값 | 엔터키 라벨 |
|---|---|
enter | 엔터 (기본) |
done | 완료 |
go | 이동 |
next | 다음 |
previous | 이전 |
search | 검색 |
send | 전송 |
9. <datalist> — 자동완성 목록
Info: 👁️🗨️ input 에 제안 목록 을 붙인다. select 와 달리 직접 입력도 가능 — 입력하면서 매칭되는 항목이 자동으로 좁혀진다.
<label for="city">도시</label>
<input list="cities" id="city" name="city" placeholder="도시 입력">

<datalist id="cities">
  <option value="서울">
  <option value="부산">
  <option value="대구">
  <option value="인천">
  <option value="광주">
</datalist>
| 비교 | <select> | <input list> + <datalist> |
|---|---|---|
| 직접 입력 | ✗ (목록만) | ✓ (자유 입력 + 제안) |
| 자동 검색 | ✗ | ✓ (입력어로 필터링) |
| 사용 예 | 카테고리 선택 | 도시·태그·주소 자동완성 |
10. autocomplete 토큰 — 브라우저 저장값 활용
Info: 👁️🗨️ 브라우저가 저장해 둔 사용자 정보 (이름·이메일·카드번호 등) 를 자동으로 채워 넣게 어떤 종류의 정보 인지 알려준다.
<input name="name" autocomplete="name">
<input type="email" name="email" autocomplete="email">
<input type="tel" name="tel" autocomplete="tel">

<input type="password" autocomplete="current-password"> <!-- 로그인 -->
<input type="password" autocomplete="new-password">     <!-- 회원가입 -->

<input type="text" inputmode="numeric" autocomplete="one-time-code"> <!-- SMS OTP -->

<input name="cardnumber" autocomplete="cc-number">
<input name="cardname"   autocomplete="cc-name">
<input name="cardexp"    autocomplete="cc-exp">
자주 쓰는 토큰: name, given-name, family-name, email, tel, street-address, postal-code, country, cc-number, cc-name, cc-exp, current-password, new-password, one-time-code.
Info: 💡 OTP 입력에
autocomplete="one-time-code"를 붙이면 SMS 로 받은 인증번호를 모바일 키보드 위 제안 막대 에 띄워 1탭 입력이 된다.